Last Updated: November 5, 2026
Renovating your home creates a storage problem before the work even begins: where do you put everything?
Whether you're remodeling a kitchen, replacing flooring, painting several rooms, or tackling a larger home renovation, you'll probably need to clear belongings out of the work area before the project starts.
A little planning can make a big difference. Instead of piling everything into the garage or filling a spare bedroom with random boxes, use these five steps to keep your belongings organized, protected, and easy to find throughout your renovation.
Quick Summary
To organize your belongings during a home renovation:
- Decide what needs to be removed from the renovation area.
- Sort belongings by room and decide what to keep, donate, or discard.
- Choose a safe storage location away from the work area.
- Pack and label items so they're protected and easy to find.
- Keep a simple inventory and unpack one room at a time when the work is finished.
If you're renovating in the Quad Cities, reusable plastic totes can also be a convenient way to temporarily store smaller household belongings without buying and disposing of cardboard boxes.
Table of Contents
- Step 1: Decide What Needs to Leave the Renovation Area
- Step 2: Sort Your Belongings by Room
- Step 3: Choose Where You'll Store Everything
- Step 4: Pack, Protect, and Label Your Belongings
- Plastic Totes Can Make Temporary Renovation Storage Easier
- Step 5: Keep an Inventory and Plan for Unpacking
- Frequently Asked Questions
Step 1: Decide What Needs to Leave the Renovation Area
Before you start packing, walk through the rooms that will be affected by the renovation.
Think beyond the exact spot where the work is happening. Contractors may need room to carry materials, move equipment, access doors and hallways, or work around cabinets and furniture.
Start by identifying what needs to be moved completely out of the work area.
Depending on the project, that might include:
- Dishes and cookware
- Pantry items
- Books
- Toys and games
- Clothing and linens
- Lamps and small décor
- Electronics
- Pictures and wall decorations
- Office supplies
- Small appliances
- Bathroom supplies
Furniture and other large items may need a different storage solution, but smaller household belongings can usually be packed and organized before the project starts.
Tip: Don't wait until the night before work begins. Having belongings packed ahead of time makes it much easier to clear the room when renovation day arrives.
Step 2: Sort Your Belongings by Room
A renovation is a good opportunity to avoid moving things you no longer want.
As you empty each room, sort belongings into four groups:
Keep and store: Items you want to keep but won't need during the renovation.
Keep accessible: Things you'll still use while the project is underway.
Donate: Items in good condition that you no longer need.
Discard: Broken, expired, or unusable items that aren't worth storing.
Once you've decided what stays, keep belongings grouped by the room where they belong.
For example, avoid mixing kitchen items with bedroom décor just because there's extra space in a container. Keeping each room together makes unpacking much easier later.
Create an "I Still Need This" Group
Some belongings shouldn't disappear into storage for several weeks.
Think about what you use regularly, such as:
- Medications
- Phone and device chargers
- Important paperwork
- Frequently used kitchen items
- Children's necessities
- Toiletries
- Clothing you'll need
Keep those items in clearly labeled containers somewhere that's easy to reach.
Step 3: Choose Where You'll Store Everything
Once you know what needs to be moved, decide where it will go.
The best storage location depends on the size of your renovation, how much you're moving, and how often you'll need access to your belongings.
Spare Room
A room that's not part of the renovation can work well for totes and other smaller household items.
Keep everything grouped and leave yourself enough room to reach containers you may need during the project.
Garage
A garage can provide plenty of temporary space, particularly when you're clearing multiple rooms.
Before storing household belongings there, consider whether temperature, moisture, dirt, or pests could affect what you're storing.
Basement
A basement can work for items you won't need frequently, provided the location is appropriate for the belongings you're storing.
Avoid putting containers in areas where they may be exposed to moisture.
Self-Storage Unit
For a large renovation, a storage unit may be useful when you need to remove a substantial amount from the house.
Remember that anything stored off-site will need to be transported there and back.
Portable Storage Container
A larger portable container may make sense when you're removing furniture or a large portion of the contents of your home.
You can also use more than one solution. Furniture might go into larger storage while dishes, books, décor, linens, and other smaller household belongings stay organized in totes.
Step 4: Pack, Protect, and Label Your Belongings
Good labeling is one of the simplest ways to make renovation storage easier.
As you pack, keep items from the same room together and label each container with both the room name and a brief description of what's inside.
Instead of:
KITCHEN
try:
KITCHEN: baking dishes, mixing bowls, small appliances
That small amount of extra information may save you from opening several containers later to find one item.
Protect Fragile Items
Wrap fragile belongings appropriately before putting them into storage. Avoid overloading containers, and don't place heavy items on top of fragile belongings.
Small parts and hardware can easily disappear during a renovation. Put screws, brackets, handles, and other small pieces into labeled bags so you know exactly what they belong to when it's time to put things back together.
Plastic Totes Can Make Temporary Renovation Storage Easier
Cardboard boxes aren't your only option when you need to empty a room for a renovation.
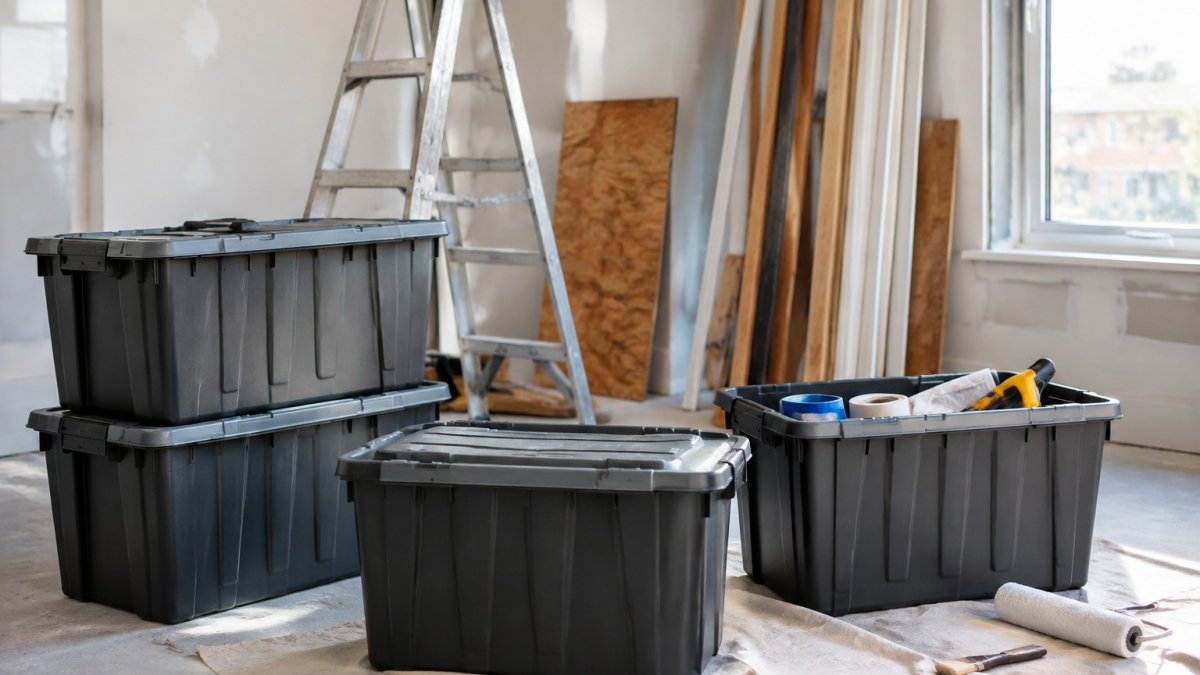
Reusable plastic totes can be particularly convenient when you're temporarily moving belongings from one part of your home to another. They're stackable, easy to label, and don't require you to assemble boxes or tape them closed.
For example, if you're remodeling your kitchen, you could separate totes into groups such as:
- Baking supplies
- Pots and pans
- Small appliances
- Pantry items
- Dishes and glassware
- Kitchen décor
When the renovation is complete, you can bring the totes back into the kitchen one group at a time.
Renovating in the Quad Cities?
If you're remodeling a home in the Quad Cities, QC Tote Rental offers reusable plastic moving totes that can also be used for temporary household storage during a renovation.
We deliver the totes so you can pack before the project begins. When you're finished unpacking, we pick them back up.
That means you don't have to buy a pile of cardboard boxes for belongings that may only be moving across the house.
https://qctoterentals.com/pricing
Step 5: Keep an Inventory and Plan for Unpacking
You don't need a complicated spreadsheet to keep track of everything.
A simple list on your phone or a sheet of paper is enough.
For example:
Kitchen
- Tote 1: baking supplies
- Tote 2: small appliances
- Tote 3: pantry
- Tote 4: dishes
- Tote 5: décor
Do the same for each room.
If you're storing belongings in more than one location, note the location too:
Kitchen Tote 1 – Garage
Kitchen Tote 2 – Spare Bedroom
This becomes especially useful during a longer renovation when you've forgotten where something was stored.
When the Renovation Is Finished
Resist the temptation to bring everything back at once.
Instead, unpack room by room.
This gives you a chance to decide where things belong in the newly renovated space and prevents your freshly finished room from immediately becoming cluttered with boxes and containers.
Home Renovation Storage in the Quad Cities
You don't have to be moving to benefit from moving totes.
Kitchen renovations, flooring installation, painting, basement renovations, and other home improvement projects can all require temporarily clearing household belongings out of the way.
For homeowners in the Quad Cities area, QC Tote Rental provides another option: rent the totes you need for the project and return them when your home is back together.
Our standard rental packages include:
- 20 totes – $99
- 40 totes – $169
- 60 totes – $219
Standard packages include a two-week rental period, with extensions available if your project takes longer.
Not sure how many you'll need? Think about the number of rooms you're clearing, how much is currently stored in cabinets and closets, and whether you're packing only small household items or most of the room's contents.
https://qctoterentals.com/pricing
Make Your Next Home Project Easier to Organize
Renovations are disruptive enough without wondering where you packed the coffee maker.
Plan your storage before the project starts, keep each room's belongings together, label everything clearly, and make frequently used items easy to reach.
And if you're renovating in the Quad Cities and don't want to purchase cardboard boxes for temporary storage, QC Tote Rental can deliver reusable plastic totes to your door and pick them up when you're finished.
Ready to get organized?
Frequently Asked Questions
How should I organize my belongings before a home renovation?
Start by identifying which rooms and areas need to be cleared. Sort your belongings into items you'll store, items you'll continue using, donations, and things you can discard. Keep stored belongings grouped by room and clearly label each container. Items you're likely to need during the renovation should be kept separately and somewhere easy to reach.
Where should I store belongings during a home renovation?
Depending on your project, you might use a spare room, garage, basement, storage unit, or portable storage container. Choose a location away from the work area and appropriate for the belongings you're storing. For larger renovations, you may want to combine different storage options.
Can I use plastic moving totes during a home renovation?
Yes. Plastic totes can be useful for temporarily storing smaller household belongings that need to be removed from a renovation area. Dishes, books, décor, toys, linens, pantry goods, office supplies, and similar household items can be grouped into labeled totes and stored until the room is ready again.
How many totes do I need for a home renovation?
It depends on the room and how much you're removing. A bathroom project may involve relatively few smaller belongings, while clearing a kitchen, basement, or several rooms could require considerably more storage. QC Tote Rental offers packages of 20, 40, and 60 totes, which lets Quad Cities homeowners choose a package based on the size of their project.
How do I protect furniture and household items during remodeling?
When possible, move furniture and belongings away from the work area. Protect fragile possessions before storing them and keep small parts or hardware in clearly labeled bags. For furniture that needs to remain in the area, talk with your contractor about how the room needs to be prepared before work begins.
